Today I will be showing you how to make an old run down cedar chest into a new fashionable table!
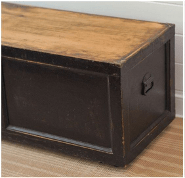
In step 1 you will need to sand down (fine sand paper-220 grit) the original chest that is available. Wipe down the entire chest for any loose particles. After the chest is cleaned, tape off the top piece to keep the original wood. If needed, paint the dark wood (on the sides) with white to give it a bright setting. Make sure the blue painters tape is on the very corner of where the side and top meet.
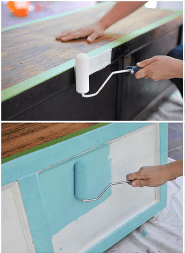
After completing step 1 and letting it dry, it is time to paint on your preferred color. Make sure your surface is clean. For bright and consistent color apply 2 coats. Let it dry for 2-3 hours.
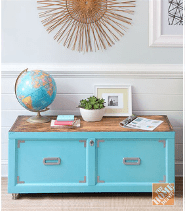
Step 3 includes adding personal design. For this particular chest, we added metal pieces from a classic metal cabinet and hot glued them to the front panel. For other pieces Menards and Lowes offers a variety of cabinet handles and knobs.
Once the final touches are complete, its time to design and place! Adding plants, organizational pieces for keys, pens, etc. give the table a nice touch to your home.
I hope you enjoyed! Stay tuned for the next flip which will include a wood palette recreation!
